
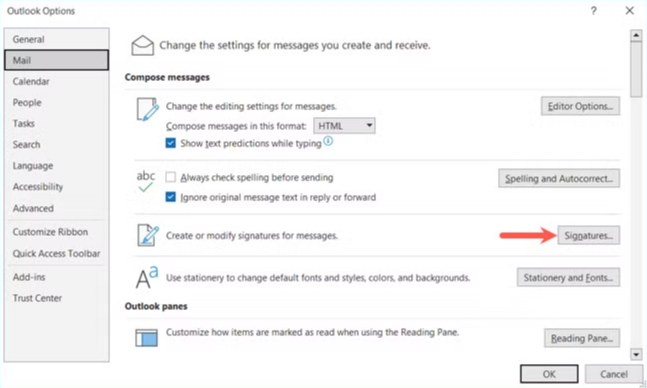
1. In the main Outlook window, select File > Options. Choose “Mail” on the left and then “Signatures” on the right.
2. Select “New” to the right of the signature list box.
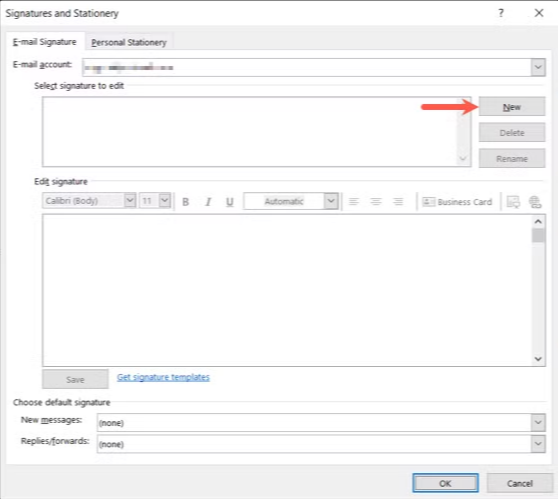
3. Add a name for the signature and click “OK”
4. You’ll see the name of the new signature added to the list at the top. Use the text box directly below to enter your signature. Copy the sample signature from the email and past it into this box. Make the appropriate changes to personalize it to you. Be mindful of the Phone number and extension, as well as your cell phone number. If you do not have a company cell phone, please remove that information from the signature.

5. Set the default Signature, and click OK
